Part 60: Final Sidequests
Update 60: Final Sidequests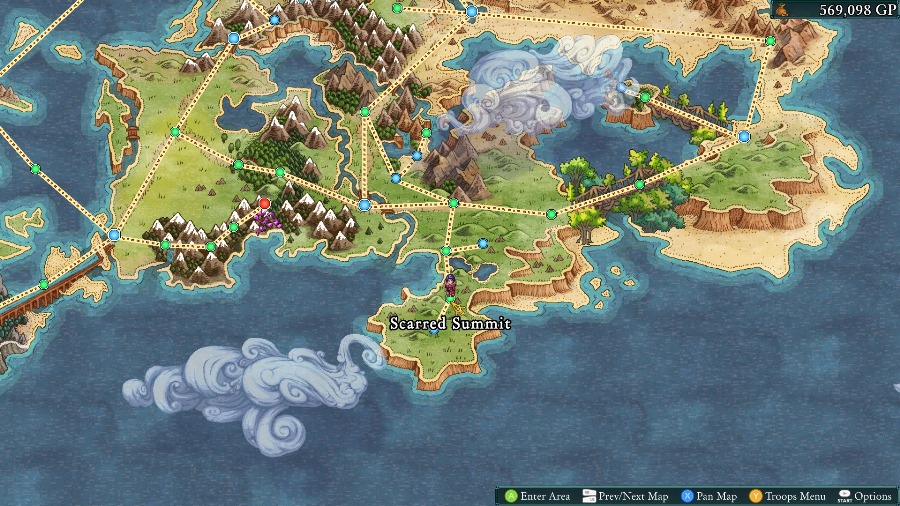
Hello and welcome back! Last time we went through the final set of arena battles. This time we’ll be finishing off a long-running sidequest and one shorter one.
To start off, the long sidequest is all about the Obelisks that have been appearing throughout the game. While you can find them in any order, I’ll be detailing them in the order that they first become available. The first one could be activated all the way back before we took down Alphonse, at the Scarred Summit.

I believe that I mentioned it when we fought here, but this map is the first appearance of an Obelisk. Unlike the other ones, this one is both in the open and easily accessible. All you need to do is go up to it and activate to get Obelisk Clue 1.

The 2nd Obelisk is available soon afterwards, in the Azure Fields.
It’s still pretty obvious, though a bit hidden if you’re not really looking for it. I actually like this one since it serves as a hint about the other hidden things on the map.
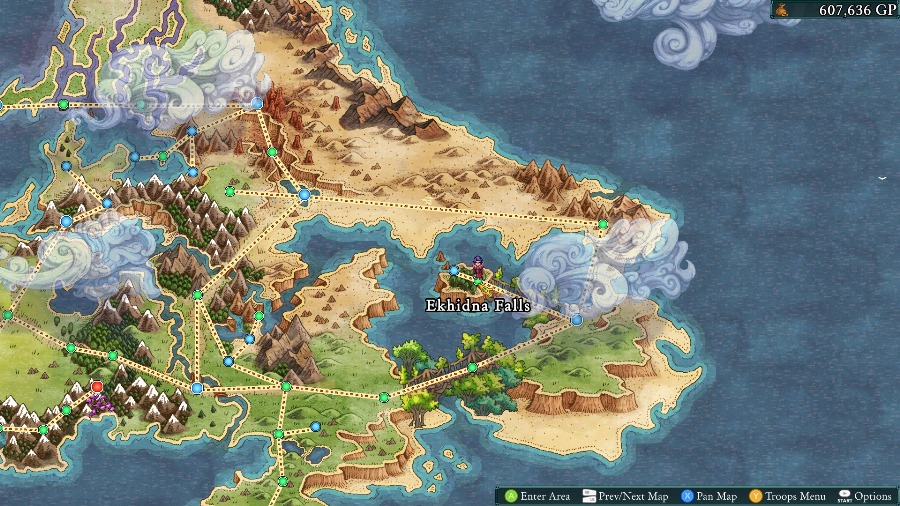
Obelisk number 3 is in Ekhidna Falls and is the first one that isn’t super easily accessible.

Though it’s in the open, it sits on top of the Temple and is usually off camera unless you scroll up to it on your own. To access this one, you need to either have a unit with Flying movement or a 25+ jump height.
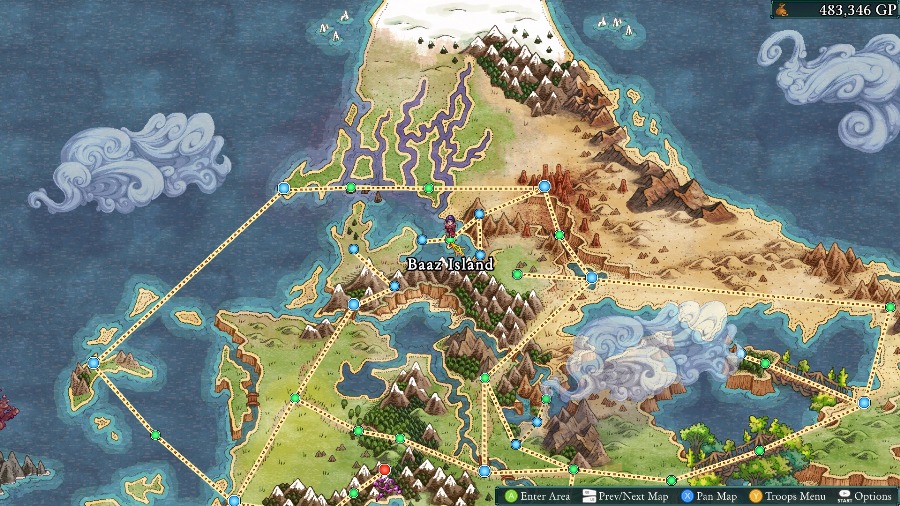
The fourth Obelisk is a bit afterwards, on Baaz Island.
It’s easily accessible, but is mostly hidden behind one of the pillars of the Temple.
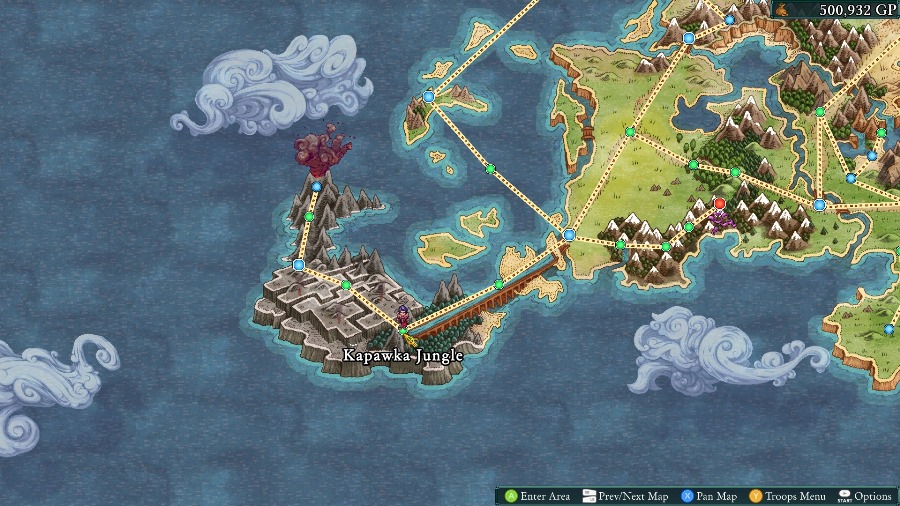
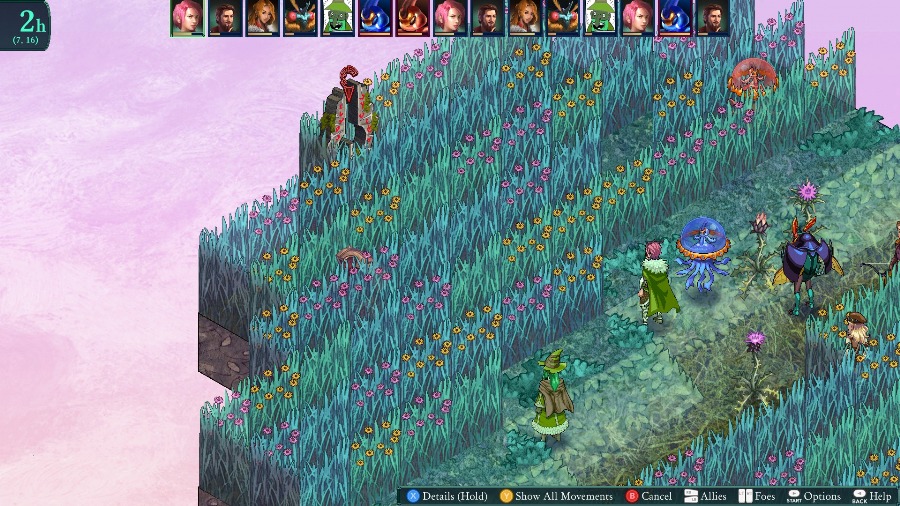
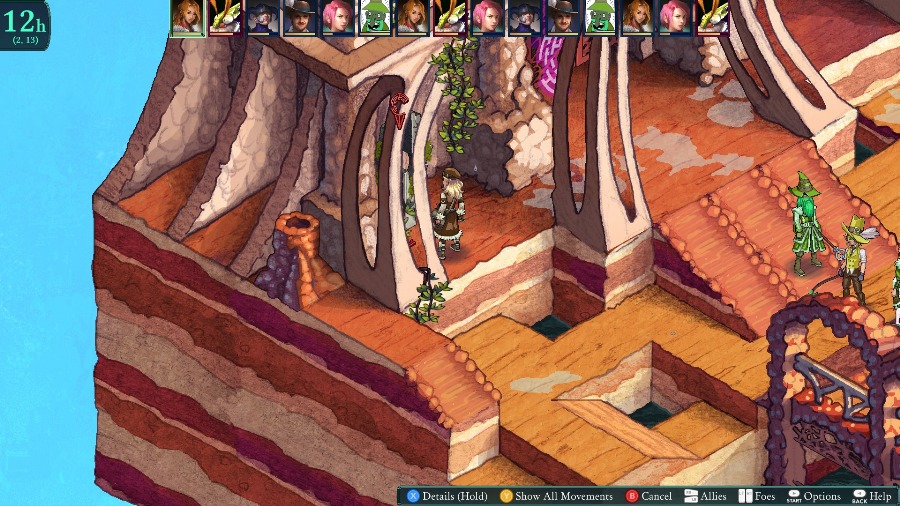
There’s another decently long break in Obelisks, until the fifth one appears in the Kapawka Jungle.
While not totally hidden, this one is out of the way of the normal battle and is slightly camouflaged by the tree next to it.
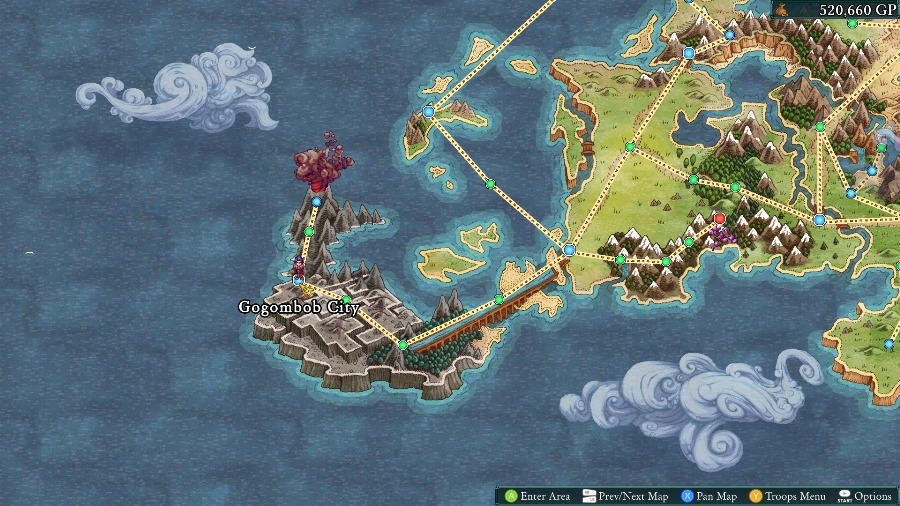
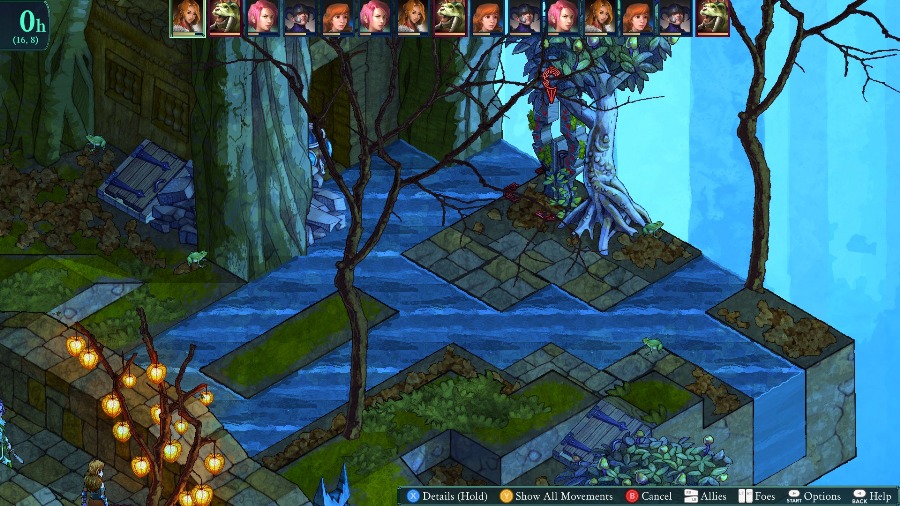
The 6th Obelisk is actually somewhat tricky, solely because the Gogombob City battle map is totally optional. If you don’t purposely fight a skirmish on it, then you will never actually see it.
That said, the map itself is just the one that we talked to the Kawa Elders on. It’s actually one of my least favorite maps to fight on because it often spawns 3-4 Rakkerjak variants with the Hover movement type, which can easily instakill any of your units by dunking them in the lava. The Obelisk is pretty easily accessible, just up some stairs in the back corner of the map.
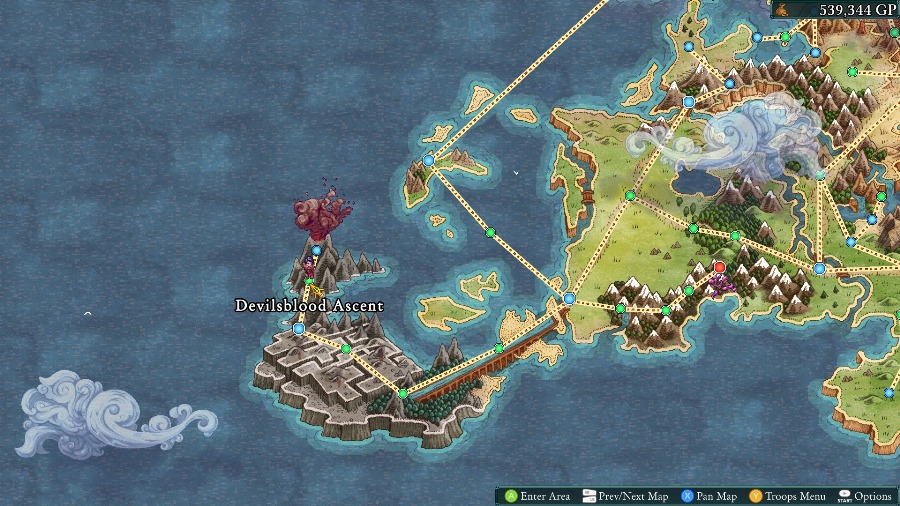
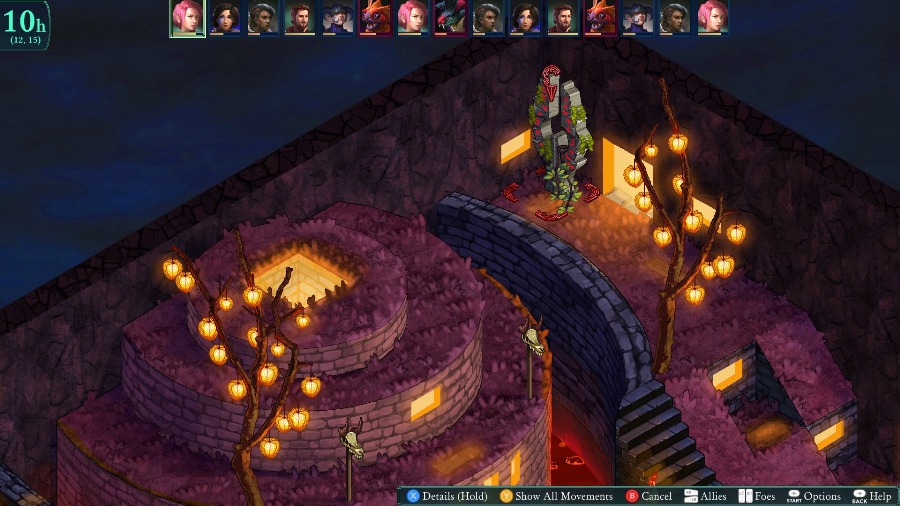
The 7th Obelisk appears soon afterwards, in the Devilsblood Ascent.
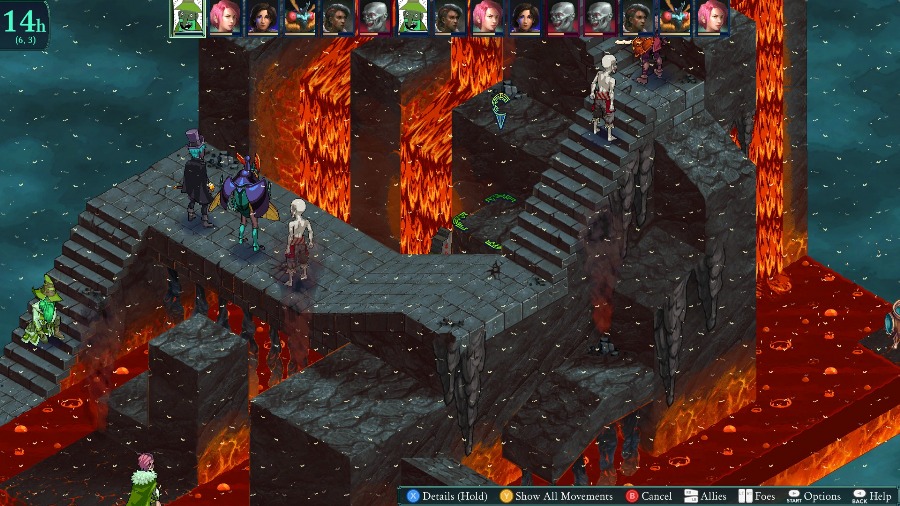
It’s a bit hidden by the map perspective, but the real difficulty of getting this one is that there’s only one square to access this from, (6,5), and it is a lava square. So you need a unit with Hovering to reach it, and they also need a Jump stat of at least 6 to jump down on their own. You can push someone down with a thing like Forceful Strike, but they’ll take a decent chunk of damage on their way down.
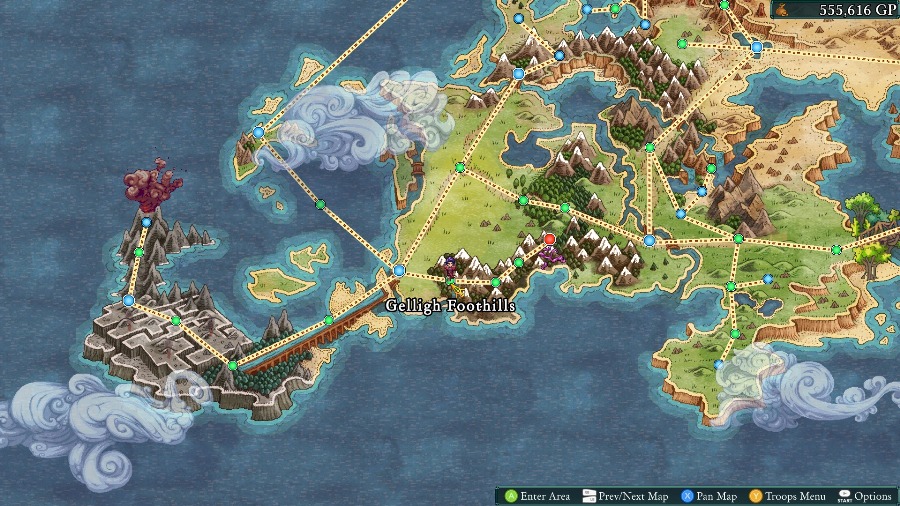
And then the final Obelisk appears in the Gelligh Foothills.

It’s mostly hidden by the tree up here, but you can just use the ladder to climb up and grab it without too much trouble.
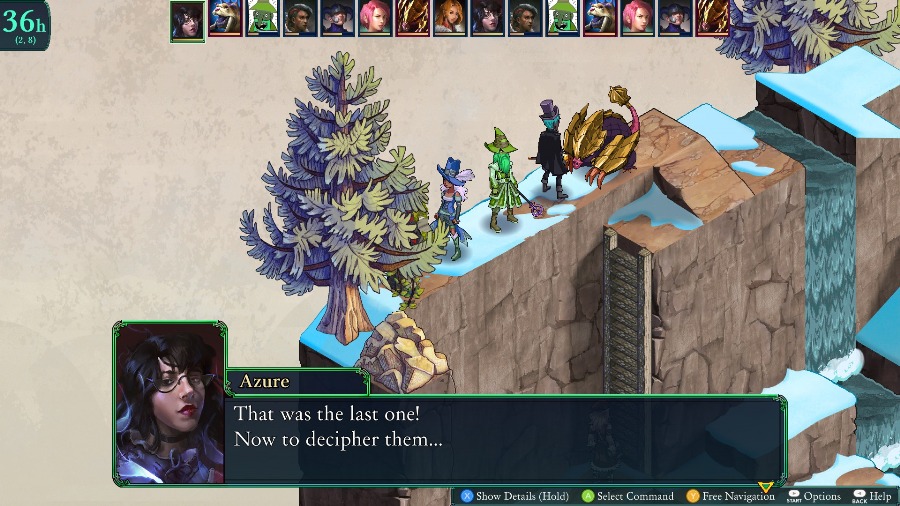
Having done that, you get a little message to let you know that you’ve found all of them.
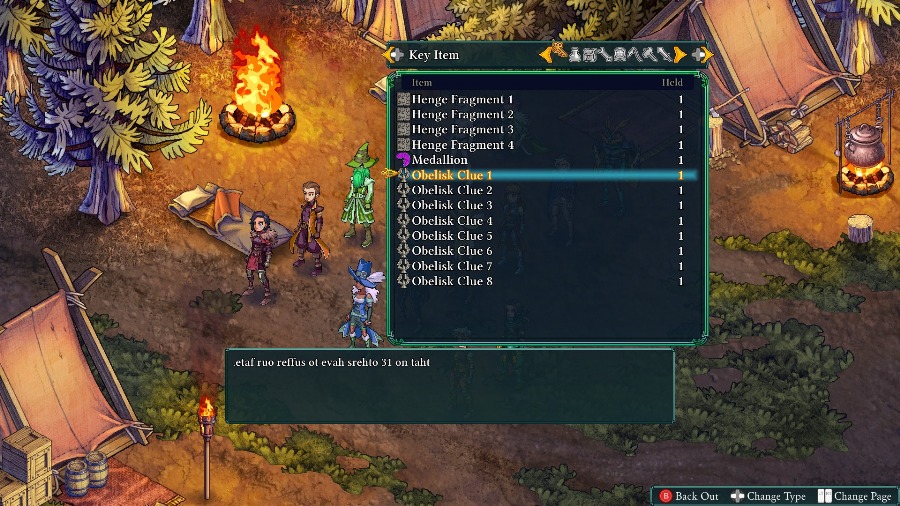
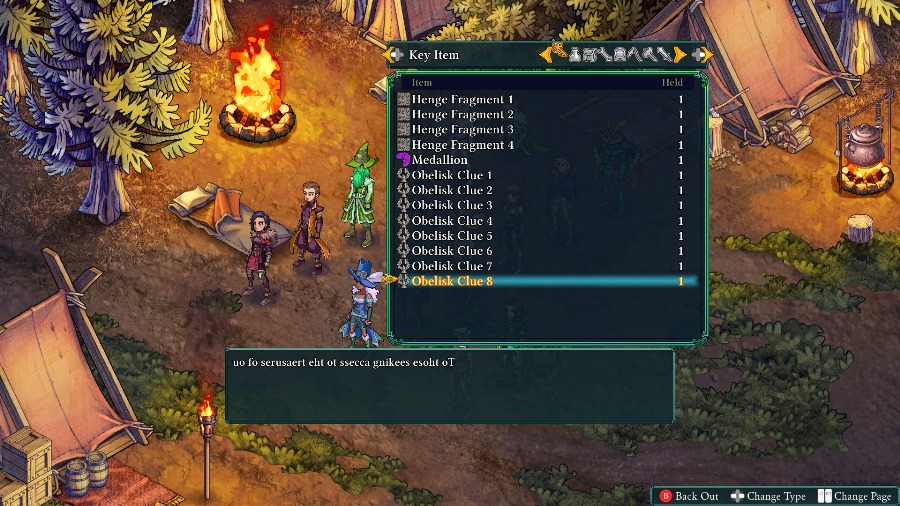
If you go into the Key Items tab of the inventory, you can see all of the clues, though they appear to be mostly nonsense at first glance. However, if you look at the clues you can see that the messages have actually been reversed. If you reverse the messages and compile them, you get his:
quote:
To those seeking access to the treasures of our old clan, make your way to the site of our most glorious and fated battle. 13 days it lasted and a mighty struggle it was, leaving the fields barren and sulfurous. Once the trip made, take your feet to the twin coordinates therein. Use our treasure wisely, that no 13 others have to suffer our fate.
quote:
An ancient battlefield that was so wracked by destruction that, to this day, very few things are able grow in its wretched soil.

Going into battle, (13,13) sits on top of this mound in the corner of the map.
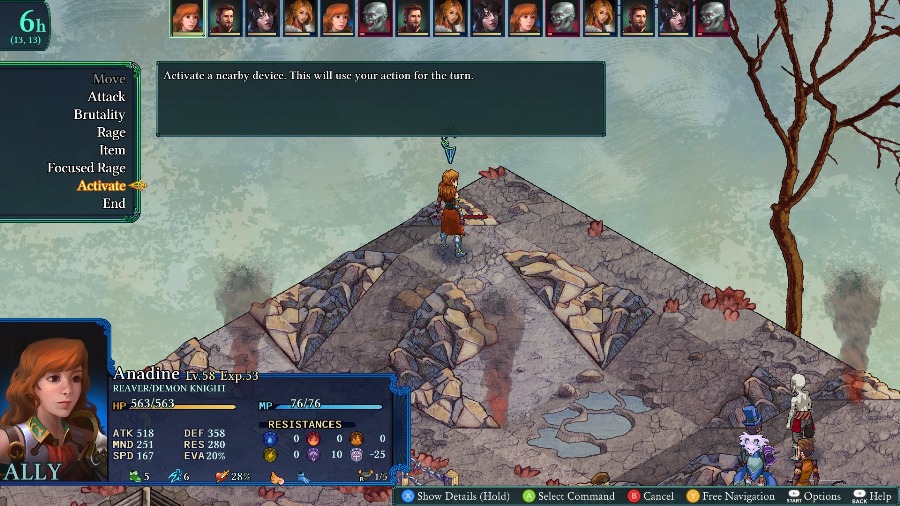
Once you’ve gotten all 8 clues, the “Activate” command will appear on this square.

Doing so uncovers a treasure trove, with a wide variety of high-level crafting materials, the best Scythe (and single strongest weapon) in the game, an extra Phoenix Band, and what I would say is the real prize: The Cap of Ages.
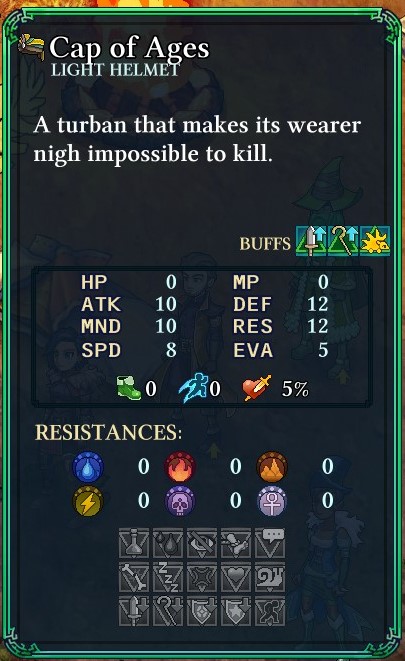
Its defense and resistance are a bit low, but that is more than made up for by the solid offensive stats, evasion and crit, and the permanent undispellable attack, mind, and thorns buffs are all incredible.
The 2nd little sidequest could have actually, technically, been completed right after we fought Septimus in Gelligh. I didn’t show it off then because it’s a bit of a pain to do unless you’re actively aiming to do finish it.
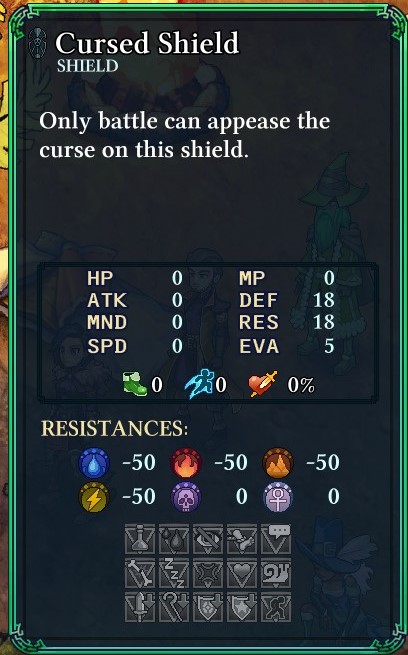
The special treasure chest on the Gelligh map has this shield in it. On the surface, it’s a pretty terrible shield, with actually good defensie stats, but a massive 50% elemental weakness to everything except for Dark and Holy damage.
However, the description of it is actually a hint, and so is the name. This shield is a reference to FFVI, one of the devs’s favorite games, where there was a terrible shield called the Cursed Shield. In that game, fighting 256 battles with the shield equipped would lift the curse and turn it into the best shield in the game. The same principle applies in Fell Seal, though the battles requirement was massively reduced.

Instead of 256 battles, you have to fight 15 battles with the Cursed Shield equipped on an active unit, and when you do so the Cursed Shield will turn into this.
Stats-wise, the Shield of the Six is one of the best shields in the game. No other shield compares on elemental resists, but others do have a few points in their favor: the Valiant Shield from the arena has lower stats but slightly higher evasion, the craftable Arbiter Shield has lower stats but also has offensive ones and gives immunity to a few status effects, and one shield found in the bonus dungeon has much higher defensive stats and an hp bonus.
Overall, it’s a bit of work to get, but is potentially available comparatively early on and can be a huge defensive buff for anyone you want to keep alive.

And with those 2 final sidequests knocked out, next time it’ll be time to head into the bonus dungeon!